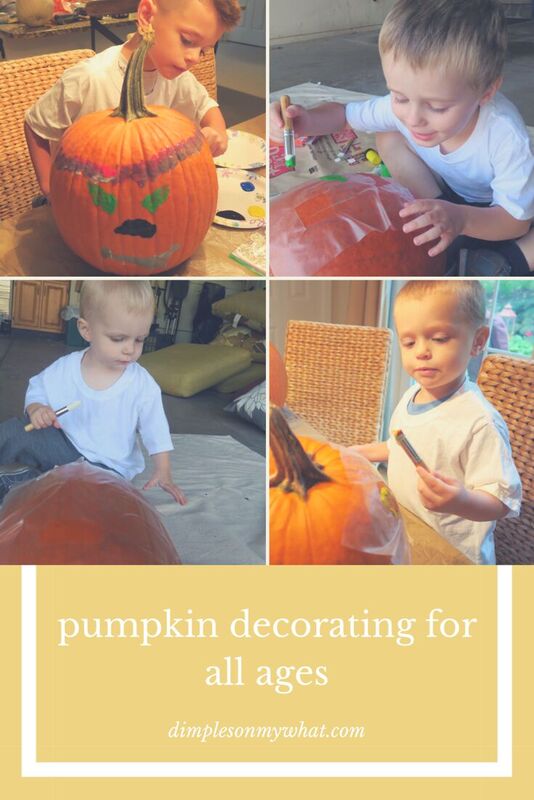
Pumpkin decorating is a fun and crafty memory maker for kids of all ages. Here’s a fun idea for creating jack o’ lanterns that won’t rot in just a few days’ time. You know that as soon as you make a scratch or cut into a pumpkin they begin their demise. It seems a shame that all of your (or your kids) creative work decorating pumpkins will be lost before Halloween ever gets here!
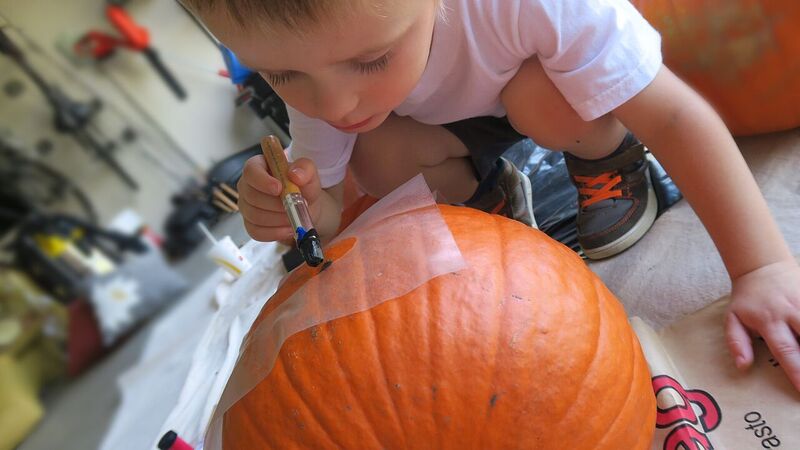
I thought it would be a fun activity to paint pumpkins with my Littles, but wanted to gear it toward their own level of skill and still come out with something that looked a little like a jack o’ lantern when it was sitting on their porch. 😉 I also didn’t want this to cost an arm and a leg by buying any special stencils.
I do have a Silhouette Cameo cutter that I bought for my daughter-in-law and I to share (read: for her to learn to use, then teach me), but I still haven’t had a tutorial and I wanted QUICK and CHEAP. So, I had some left over contact paper laying around and decided to make our own rudimentary stencils by drawing them on the contact paper and cutting them out. I started cutting out the faces with an Exacto knife but decided to ditch it for the regular scissor method. My elementary school education is really starting to pay off!!!
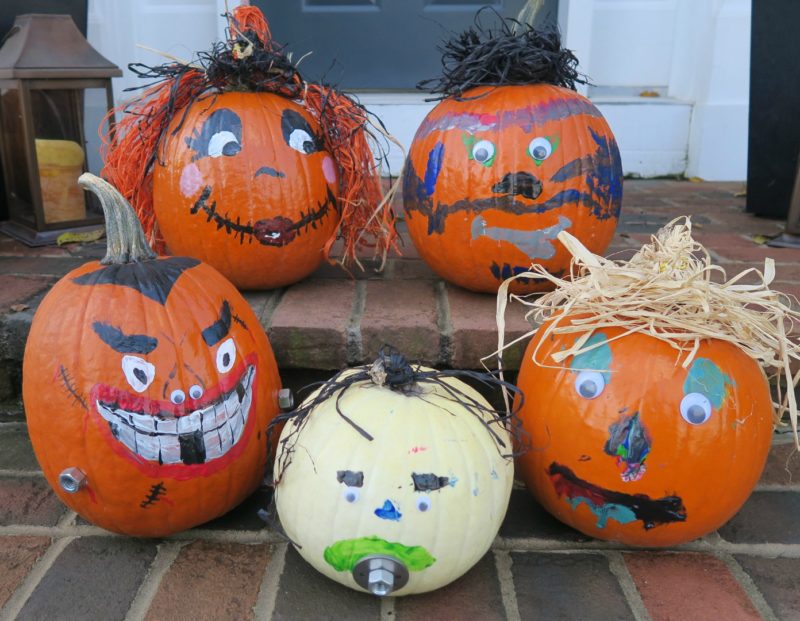
this photo was taken before the baby had his “eyes done”
Get as creative as you want to and have the energy or cutting skills for. I kept mine pretty simple because that’s the name of my game. The fanciest I got was using a bat (Batman to them) cookie cutter as a mouth for one of the stencils. If your kid is an artist, you could let them draw his own stencil. However, my advice is to have everything set up and ready to go for this pumpkin decorating extravaganza!
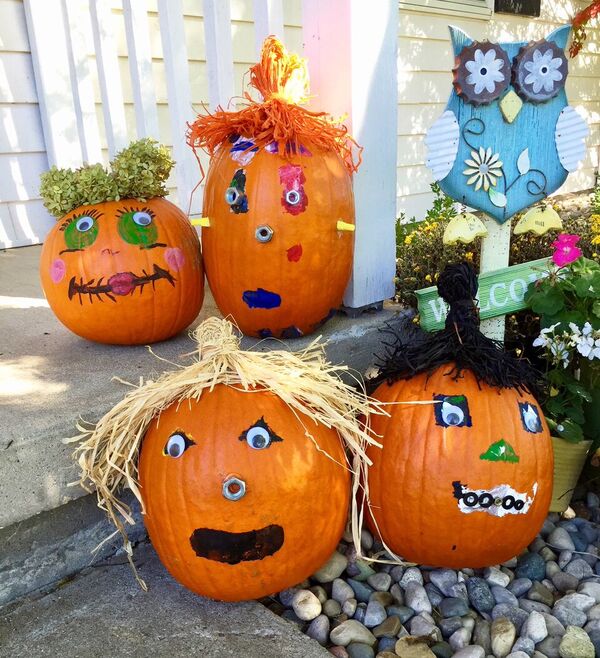
This family’s mom just got a perm
You can start with the stencil on the pumpkin and then take it off to let an older child freestyle the remainder of his, or let him go rogue from the very start. I did this with a 1 ½, nearly 3, 3 ½ and 6 year old. We just went with the flow and they worked according to their ability. Some could paint only, others used the glue and the oldest even got to be a pumpkin barber and trim their “hair”.
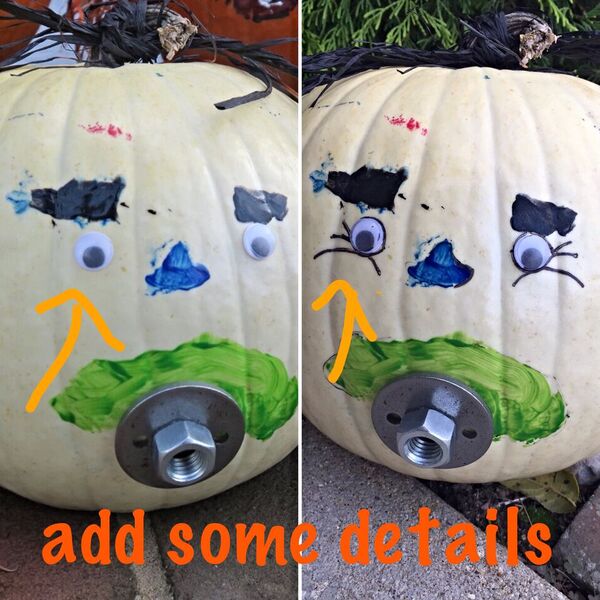
adding details using a Sharpie marker is easier after sealing with acrylic sealer
Have fun! Keep lots of paper towels around for wiping… well, anything that needs wiped. You’ll mostly need to keep wiping brushes out. Here at Mom-Mom’s house we keep several sizes of plain white t-shirts, a size or 2 bigger than the kid, to use as painting (or cookie decorating) smocks. No need to send them back to Mom and Dad with a stained shirt. Gramma doesn’t need that on her permanent record!
Here’s a list of the basics for this craft:
- Pumpkins (you can wipe them down if they are extra dirty)
- Contact paper
- Scissors
- Acrylic paint
- Paper towel
- Paint brushes (unless you want to finger paint) 😉
- Raffia or Yarn for hair
- Nuts/Washers/Googly Eyes
- Glue (I ended up using Gorilla Super Glue worked the best of what I had on hand)
- Optional: Acrylic Sealer Spray
I put a tarp down on the garage floor for the first set of grand boys because it was a nice day outside to paint. We ended up having a not so nice day for the second set of little artists so I put a vinyl table cloth on the kitchen table and we went to town.
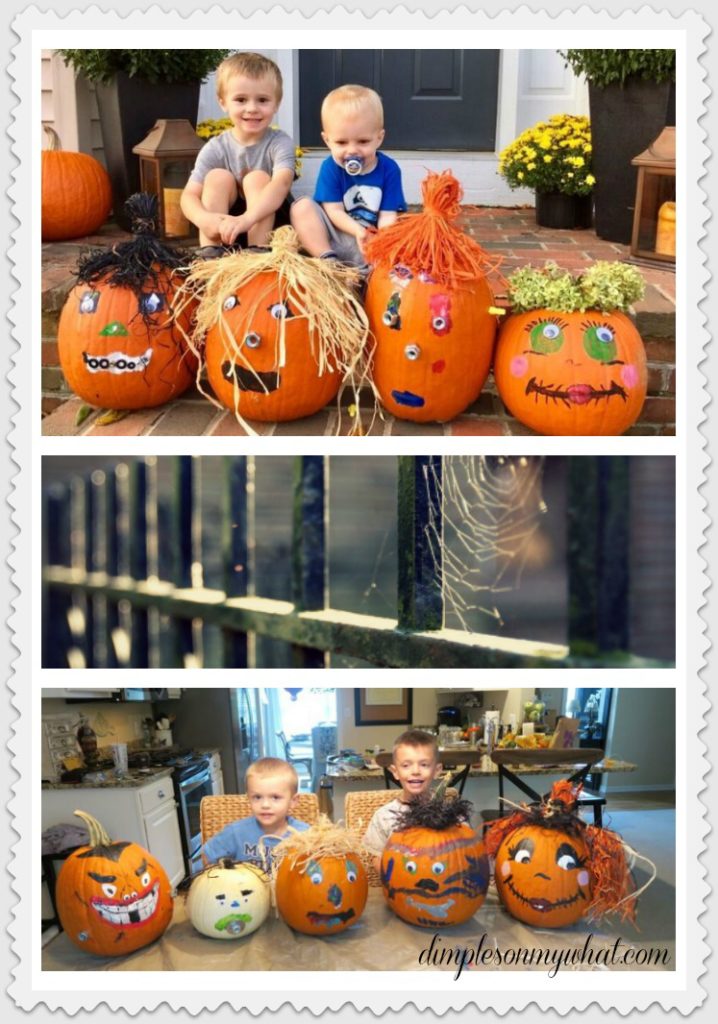
I hope you can get your own pumpkin decorating craft day on the books soon. Take lots of pictures when you’re not on paint control duty, but in the end, BE PRESENT in the moment. This season is short, so ENJOY your time with them whether you get photos or not. And let me know how yours turn out!

Those turned out super cute! I love that!
Author
Thanks Birdie!