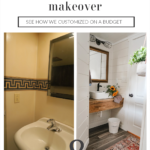
This post has been a long time coming. We’ve only lived here 4 years ya know! Every before and after of our remodeled ranch home has its own wow-factor. Remember the kitchen? And our DIY’d custom basement bathroom renovation is no exception. Scroll through to see the before-and-after photos and read some of the ways we created a high-end look on a budget.
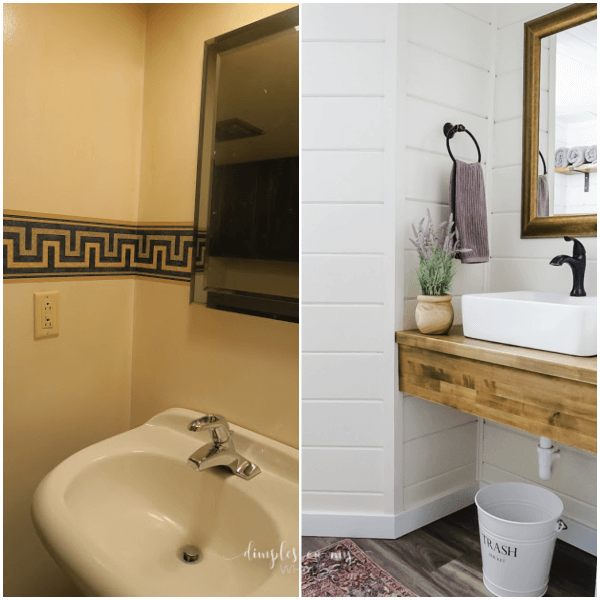
We hired a contractor for the demolition and remodel of the entire house. But with budget constraints, we chose to tackle the basement renovation ourselves, including this well-worn bathroom.
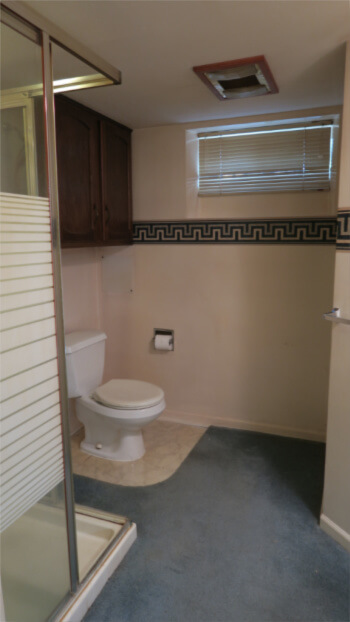
It was pretty disgusting down here. The previous homeowners were wonderful, non-disgusting people but their love of felines and cancer-sticks had taken their toll over 20-plus years. It was a complete gut job.
We kept a close eye on the budget, by keeping the same footprint, which eliminated the need to completely redesign including expensive plumbing relocations. And besides using some things we already had, our inexpensive DIY’s helped put our own unique touch on a modern-industrial, cottage, farmhouse-in-a-basement, spa bathroom. 😉 I’m pretty sure this is a trending style.
This basement bathroom is mostly used by our 6 grandsons when they’re watching YouTube videos playing down here as is indicated by the many code-brown surprises I find days after forgotten flushes. Hashtag, LIFE-WITH-BOYS! I had to sacrifice my favorite paint stir stick, turned poo-scraper, to this week’s finding. True story!
I posted a Christmas Sneak-Peek (and IG vs. REALITY shot) of the TV area in the remodeled basement with the Fellas in their habitat on IG .
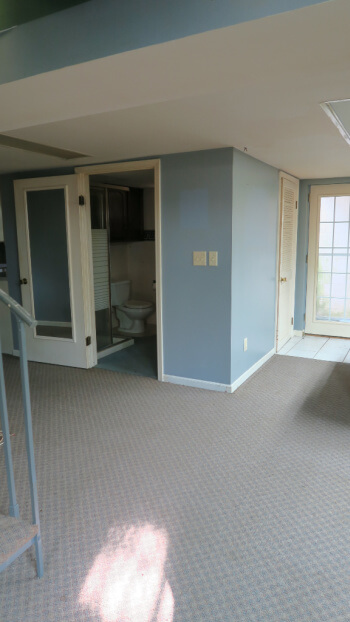
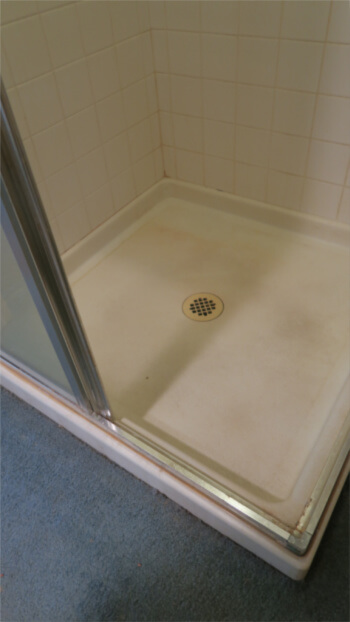
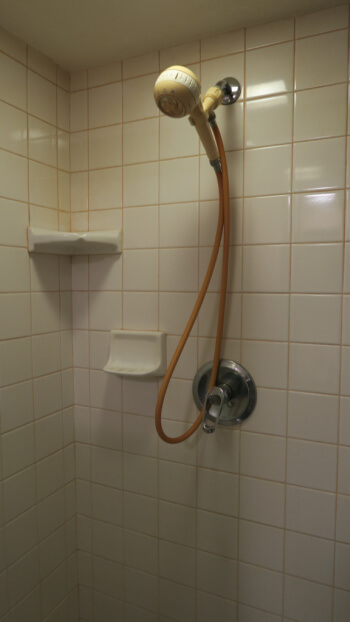
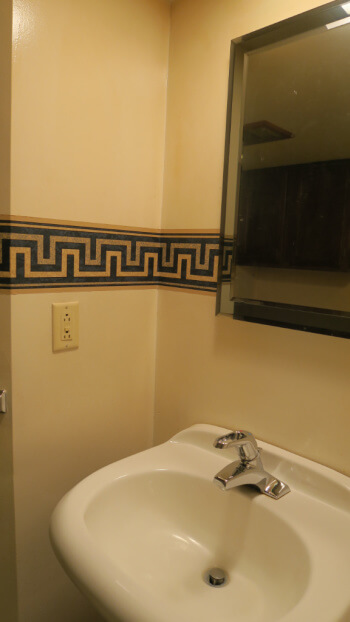
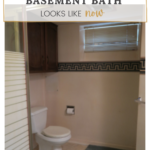
THE BEFORE
What’s a good renovation AFTER photo without the BEFORE. I don’t have as many as I would like so here’s a word to all you weekend-warrior home renovators out there – TAKE MORE BEFORE PHOTOS!
THE SPLURGE
Before I tell you some of the ways we saved on this basement bathroom renovation, we even traded an unused sliding door with a plumber friend for his services, we did have a splurge or two if you count the ceiling material which I’ll tell you about below.
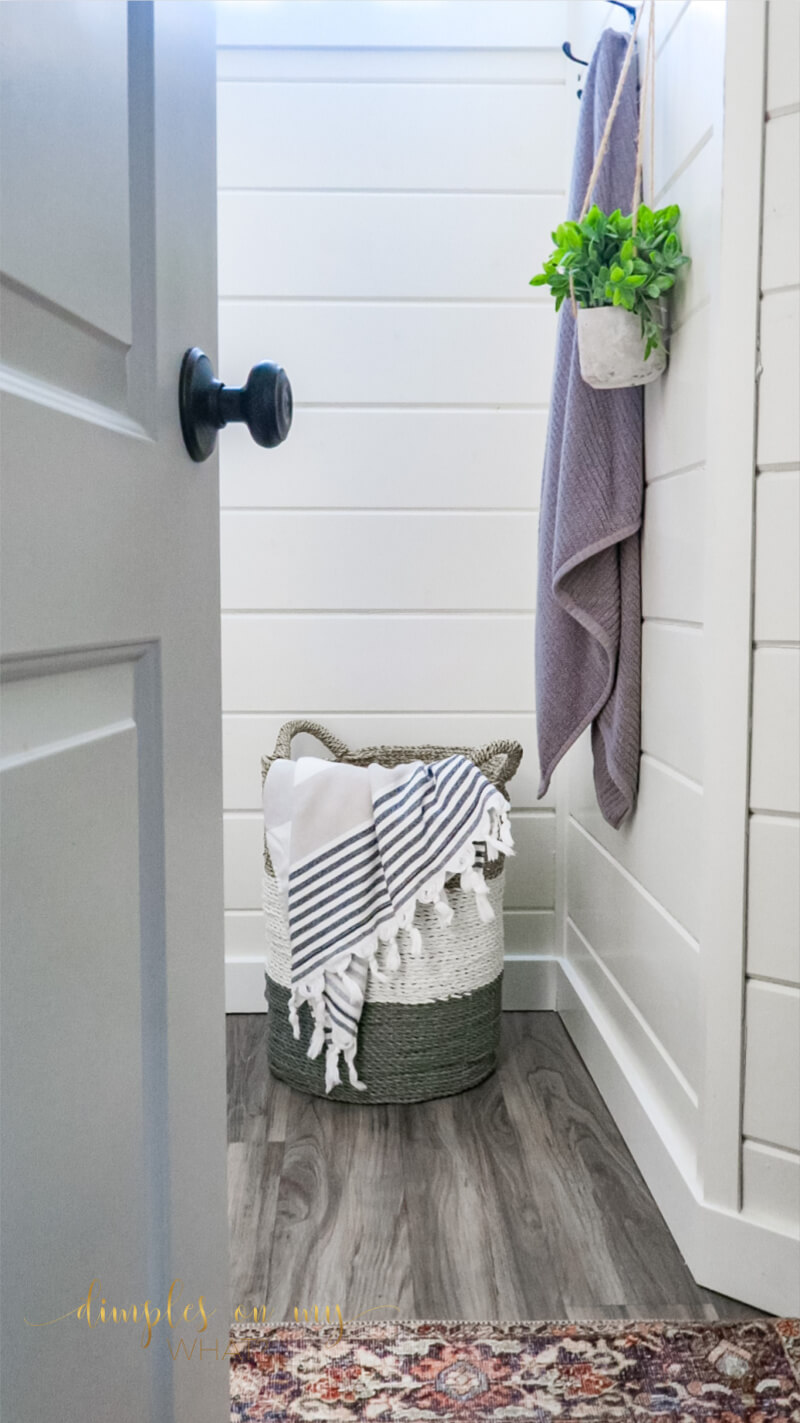
Since it’s a small space I wanted to create some character, so we used real wood *car-siding for the walls. We had some leftover from the vaulted ceiling upstairs so we just added to it. Once painted in Sherwin Williams, Alabaster in the satin finish, I think it was money well spent – like walking into a tiny cottage.
*Carsiding is like shiplap but it has a different groove profile.
THE FLOOR
We chose a commercial-grade luxury vinyl plank flooring for the entire basement renovation because we had a little water issue just before we started the remodel. The flooring store I was working with had this in stock which saved us money but kept my color choices limited.
THE SHOWER
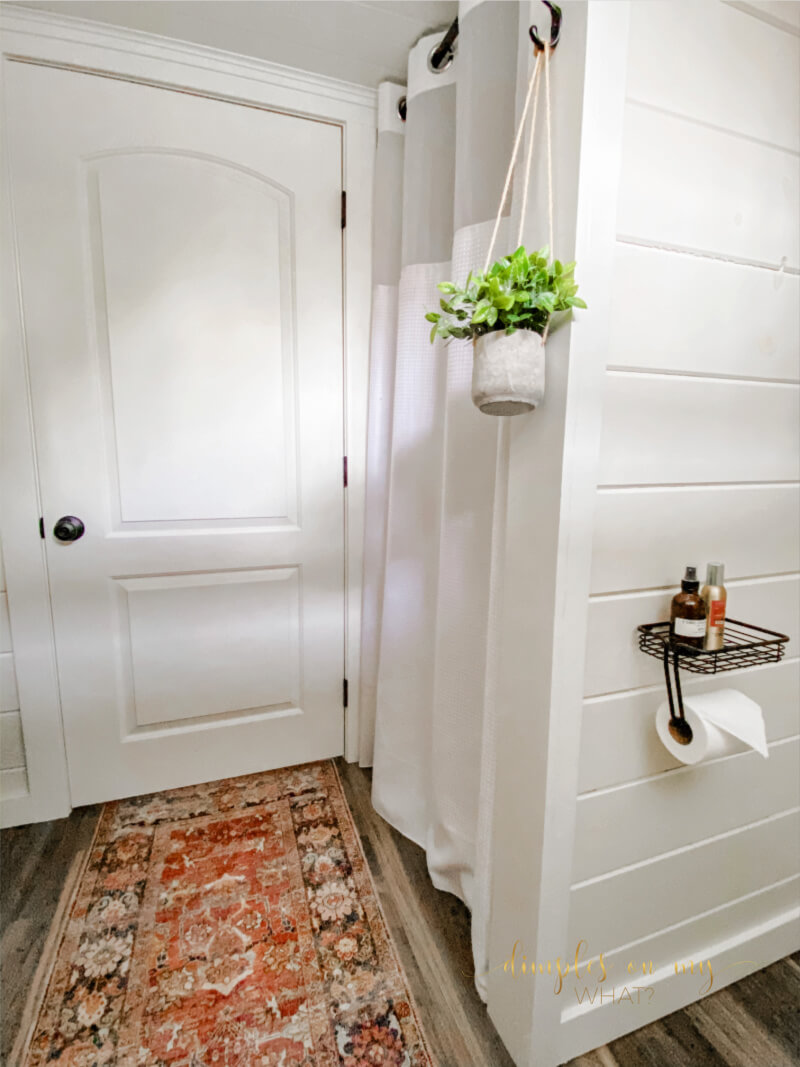
I lost the battle with the Mister for a glass shower surround like the one in our master bathroom. Instead, we went with a fiberglass insert with a shower curtain. He made a decent point that this solid shower stall creates a privacy screen for the toilet.
In the four years we’ve lived here I can count on one hand the times the basement shower has been used so it was the right decision. But man, that could have been gorgeous!
NOTE: We opted to omit a light above the shower because of the low ceiling. A light-colored shower curtain with a security panel lets the light in. I like the rich look of a floor-to-ceiling shower curtain too. Mine is the 80-inch stall-length shower curtain.
The Ceiling
The ceilings are lower in the basement of our 1950’s house, which actually started out as just a basement house. Yep, the main level wasn’t added until the ’70s. I found these vinyl beadboard panels for the ceiling so we would never have to worry about moisture damage.
THE VANITY AREA
Wood Countertop
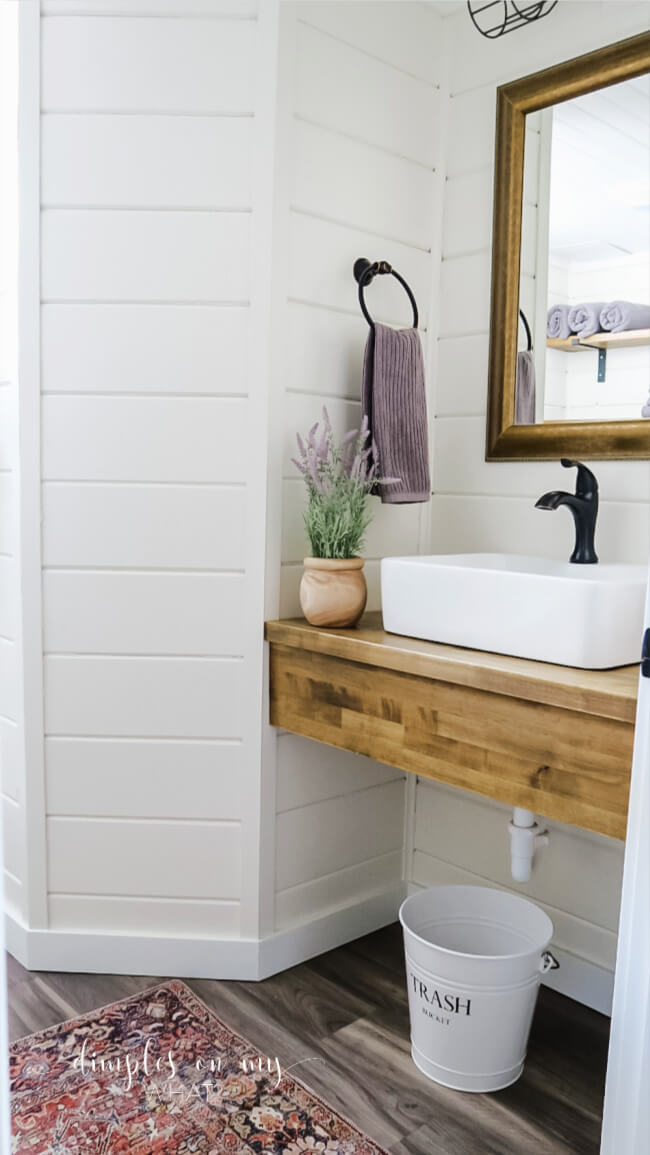
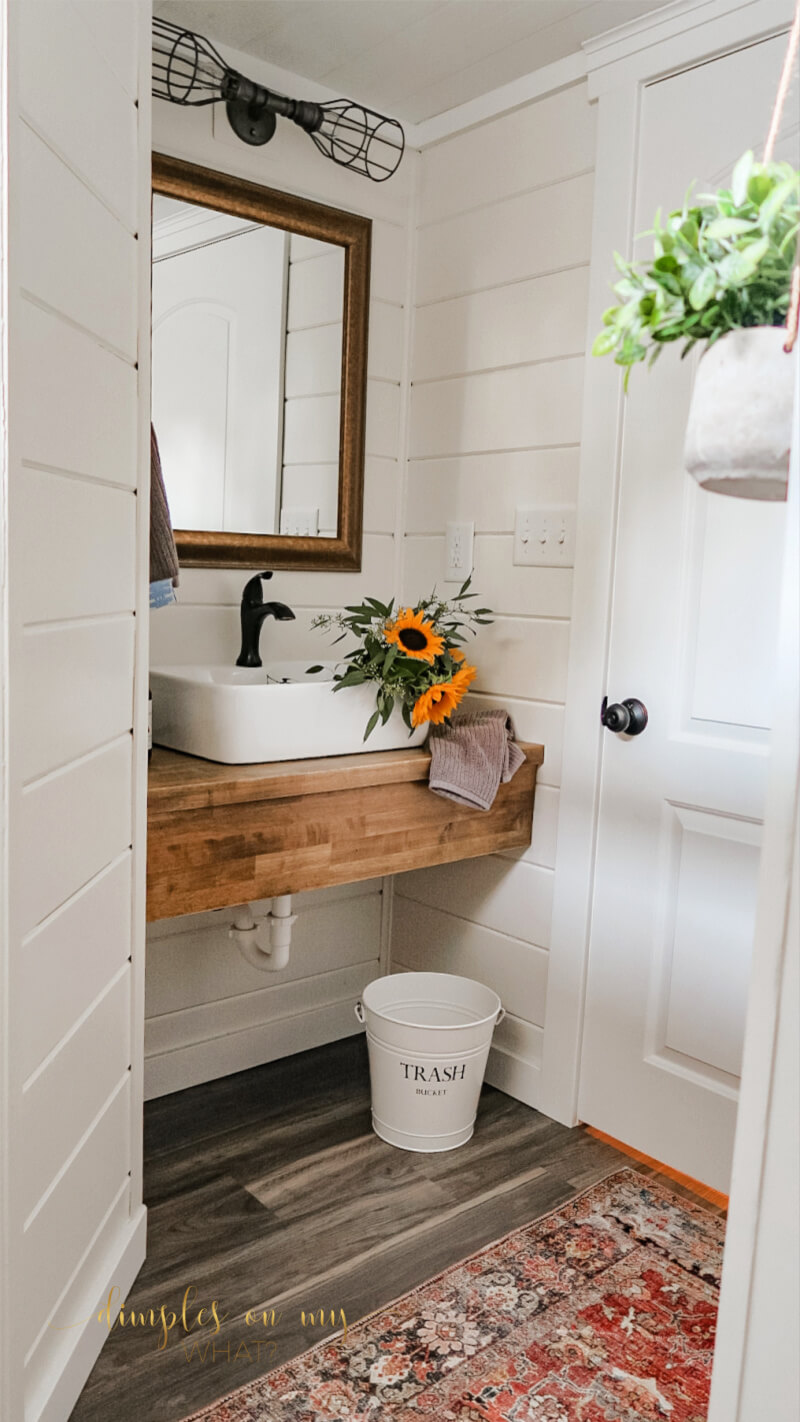
Our vanity area was a unique size – very shallow and not a standard width. Sure, I could have used a pedestal sink but I wanted a little bit of counter-space so guests would have a little space for hair tools and stuff.
We used an inexpensive slab of butcher block to make a hotel-style, apron-front vanity top. I like the visual warmth the wood tones bring to a cold basement bath.
Sink
And I found a small vessel-sink with a place for a regular faucet for more space-saving. (Vessel-sink faucets can be pricey.)
Mirror
I already owned the burnished gold framed mirror so we grabbed it and we hung it as a “just for-now” decision (do you have those?). But, I actually love the juxtaposition of the gold with the more industrial-farmhouse feel in the rest of the space.
THE TOILET AREA
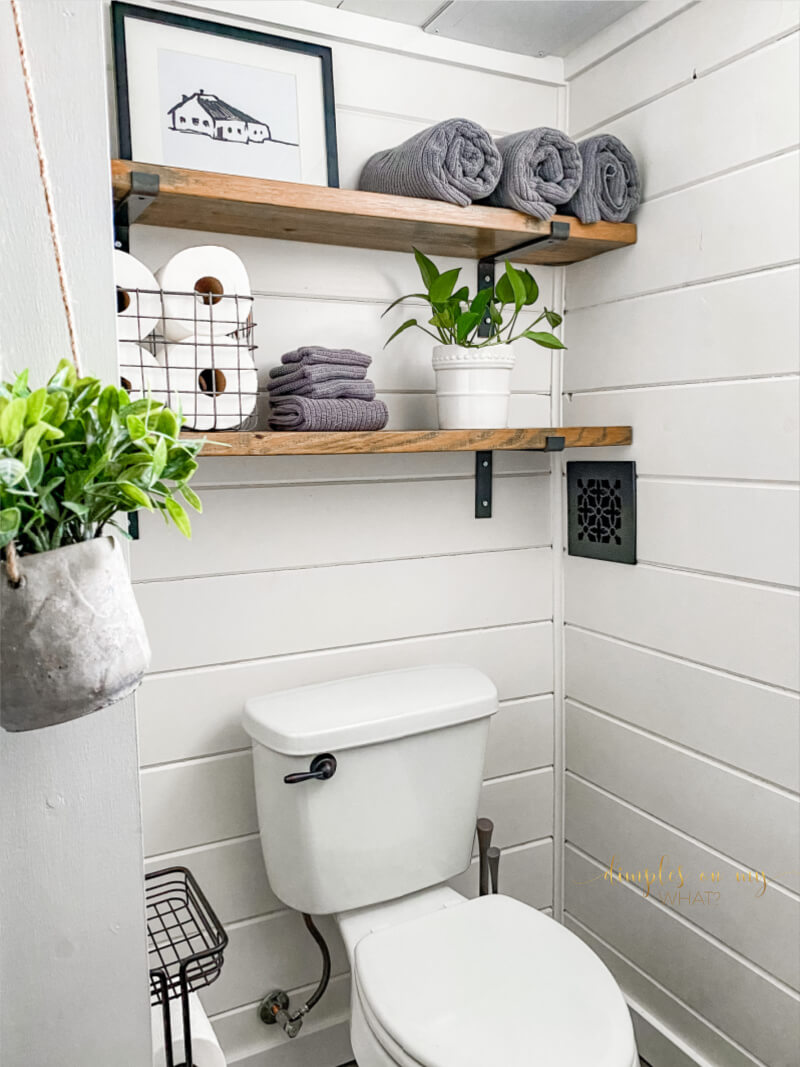
The old concrete basement floor slopes and even with a special ring, so does our toilet. But let’s just ignore that. We haven’t fallen off of it…YET!
NOTE: The black decorative grate covers the access to the sewer line cleanout. It’s definitely not sexy, but the cover makes it – COTTAGE CHIC!
Rustic Wood Shelves
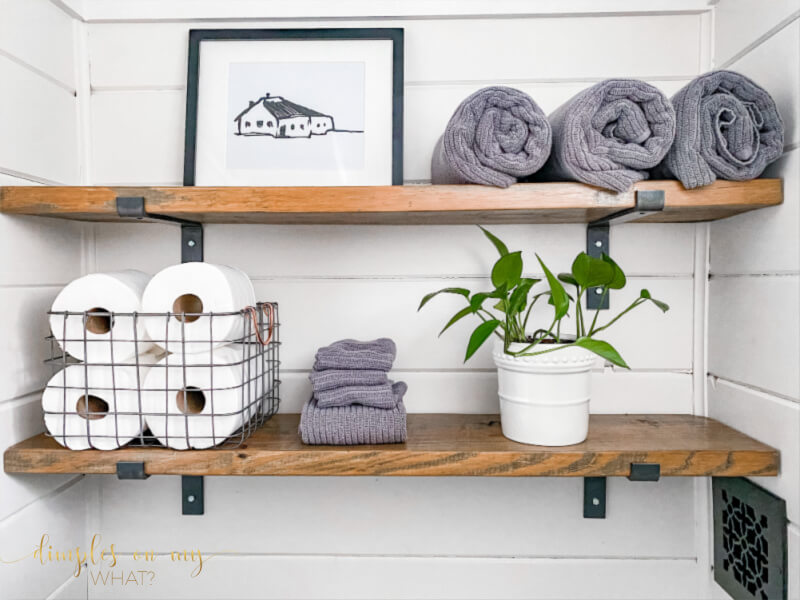
We added wall-to-wall shelves over the toilet for storage with inexpensive brackets and raw 2”x10” pine boards purchased at Lowes. I didn’t beat them up a lot but I softened the edges and stained them with a combination of Minwax weathered oak stain and a light wash of Minwax classic gray. I sealed them with a matte polyurethane, my finish of choice for most DIY projects.
A Budget Basement Bathroom Renovation… and I helped!
I need to work on a subtle and unique way to obscure the view from the window as there’s a set of outside steps right there. But so far we’ve had no peeping-Toms and it’s mostly boys using it and they bare their hinnies and pee outside anyway. 😉
Code-browns aside, I love my wild bunch a lot. But I also love a little refinement and I don’t think I could be happier with this basement bathroom renovation.
Except maybe if it had a glass shower surround. Okay, maybe next time. 😉
NAME THIS STYLE
Okay, I’m always thinking that the Modern Farmhouse style is popular but the vast majority of us don’t live in a farmhouse. I honestly think I’ve touched on a little industrial in this basement bathroom renovation but a whole lot of cottage chic. What would you call it?
Hugs,



Bee-yu-ti-ful!! Love the results, Paula! I’m a major devotee of “before & after” fixes and while I would dearly love to be the DIY-er, I live in an apartment and am limited as to what I can “fix”. It doesn’t stop me. It just limits me. LOL! So whenever I see something online that was a project, I zoom in to find what ideas I can steal and work into my own living space! I love your ideas, and no matter what “style” you wind up calling yours, I love it!! Great job!!
Hugs and blessings,
Donna
Author
I love your “can’t stop me attitude” Donna! Removable wallpaper, rugs, a bit of bling and little touches can really make a big WOW!
This is beyond beautiful. The Hubs and I need to renovate our bathrooms but the whole process seems daunting.
Author
I understand that Daenel. This was especially daunting because we had just gone through the major part of the remodel of the rest of the house, then moved house (we’d been in the other house almost 20 years) so the decision fatigue was MAJOR and the Hubs and I don’t always work well together during projects. 🤪 But we hired out a few things when it was getting tough and persevered.
I love it! It looks great! I am always amazed at the people that redo things themselves . My hubby and I are clueless about DIY stuff! Lol! We just ”call the guy” as they say! 🤣. You did good!!
I absolutely love the makeover…it looks great. Since it contains a lot of your own personal preferences/styling ideas you could call it your “dimpled delight” bathroom.
Author
Ha! That’s perfect. 😁
You nailed it!! Your DYI looks amazing. As far as the window… I’ve used a product on a front door of a previous home that was like contact paper but for windows. Bought it at Lowes. Came in different patterns….(there was one that resembled seeded glass) I chose a delicate cross hatch pattern for our door. It obscures the glass yet still allows light to filter in.
Author
Thanks Charlene! Yes, I’ve seen that stuff. I saw one tutorial that used contact paper and they cut out their own design. I’ve been thinking about trying it.
Looks fantastic! I love that sink
Author
Thanks Christy. I was first going to try to retro fit a commercial stainless steel bowl into a sink, but this one was the perfect fit!