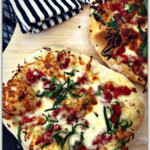
It’s What’s Cooking Wednesday
The Dimples household is going Italian for What’s Cooking Wednesday (and always) with amazing homemade pizza. Mix up a batch of this easy and amazing Rustic Italian Pizza Crust a couple of hours before you fire up the grill, and summer supper will not only take you out of the kitchen but you might feel like you’ve been transported to Italy!
The Pizza Crust I’ve Been Waiting For
I’ve been searching for a fool-proof, easy and delicious homemade pizza crust recipe for years. Mr. Dimples and I have eaten some real stinkers during the ongoing experimentation. But, I think I may have found THEE one!!! I mean it. This Rustic Italian Pizza Crust Recipe by Florentina of Ciao Florentina is easy to put together with a stand mixer, it rises relatively quickly and is mostly easy to work with. And this crust gets that “crispy on the outside and chewy on the inside” texture just right.
Keep reading for tips and tricks of this pizza dough or scroll to the bottom for the recipe.
I’m not a pizza snob and I have a few frozen pizza brands I absolutely love. But ever since I found out I have a gene mutation (MTHFR) which makes enriched flour products nearly impossible for my body to process, it is said they are like poison for my system, I have greatly limited my consumption of them.
But, this girl loves stuff made with flour on occasion, but I’m not a fan of most substitutes for traditional flour. And since it’s the synthetic folate enrichment (folic acid) that’s the real trouble maker for anyone with this genetic mutation, at home I only use organic unenriched flour whether I’m making cookies for me the grands or this homemade pizza crust.
Let’s make it clear, the Rustic Italian Pizza Crust recipe isn’t mine and it’s a relatively new find. However, I’ve been busting out homemade pizza at the Palace at least once a week since and I’m going to give you some of the tips and tricks I’ve worked out so far.
Texture Tips
I find the texture of the dough a little sticky to work with when using the measurements as written. The recipe calls for 2 ¼ cups of cold water, but the next time I make this (probably next week) 😉 , I’ll start with only 2 cups of water and add the rest as needed.
Baking at a very high temperature is important whether you’re using the grill or oven
Tools I consider a necessity:
KitchenAid Stand Mixer – You will definitely need some sort of a stand mixer with a dough hook because it takes 8-10 minutes of blending to “knead” the ingredients together.
A pizza stone – If you’re making your pizza in the oven, a pizza stone is a key to getting a perfectly crisp pizza crust. But it can be helpful on a grill as well.
A *wooden pizza peel – This makes the job of sliding the uncooked pizza onto the grill or pizza stone MUCH easier. However, I’ve also used a *baking sheet turned upside down to lay out the dough and add the toppings.
*Be sure to use flour or cornmeal (my preference) on whatever the surface you use to prep your pizza. Your pizza should slide right off.


Pizza On The Grill
Not all of us are lucky enough to have a pizza oven. But, I’ve made this pizza on the gas grill with success and a flub or two. Here are a few tips for cooking your pizza on the grill with success.
You can use a pizza stone on the grill but I put mine directly on the grill grate. Make certain to heat the grill to 500-600 degrees and then oil the grates before sliding pizza onto the grill.
Oil the grates but do so safely – Soak a wad (technical term) of paper towel in a high heat oil, grab with a pair of long-handled tongs and wipe all over the grill.
If you have a large enough grilling surface, keep only one or two zones lit and cook the pizza over indirect heat (the unlit area), while still maintaining the hottest temperature possible. BE EXTREMELY CAREFUL TO NOT BURN YOURSELF. Try these.
Freezing the Dough
This Rustic Italian Pizza dough can be made ahead and frozen. Yay! I’ve had a bit of success freezing it after I’ve already let the dough rise. HOWEVER, it’s BEST to mix the dough and form into six dough balls, rub each ball with olive oil, wrap in plastic wrap and pop those balls into a freezer bag (unrisen).
Another Italian Style Favorite – Easy Anti-pasta Salad
To use frozen dough, take the dough out of the freezer a few hours before you need to use it. Leave the dough on the counter and let it do its thing!
Dress up for a dinner date at home? This would work.
Top that Thang!
Use any yummy toppings you like but make sure the sauces and ingredients aren’t too juicy. They’ll make your pizza soggy.
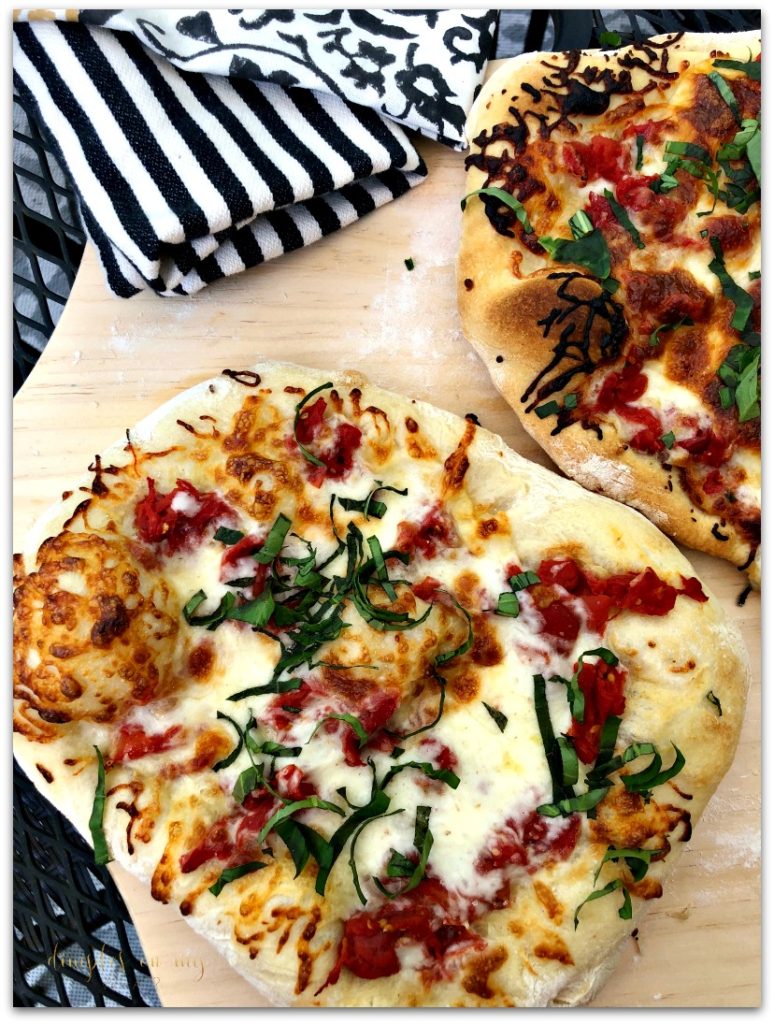
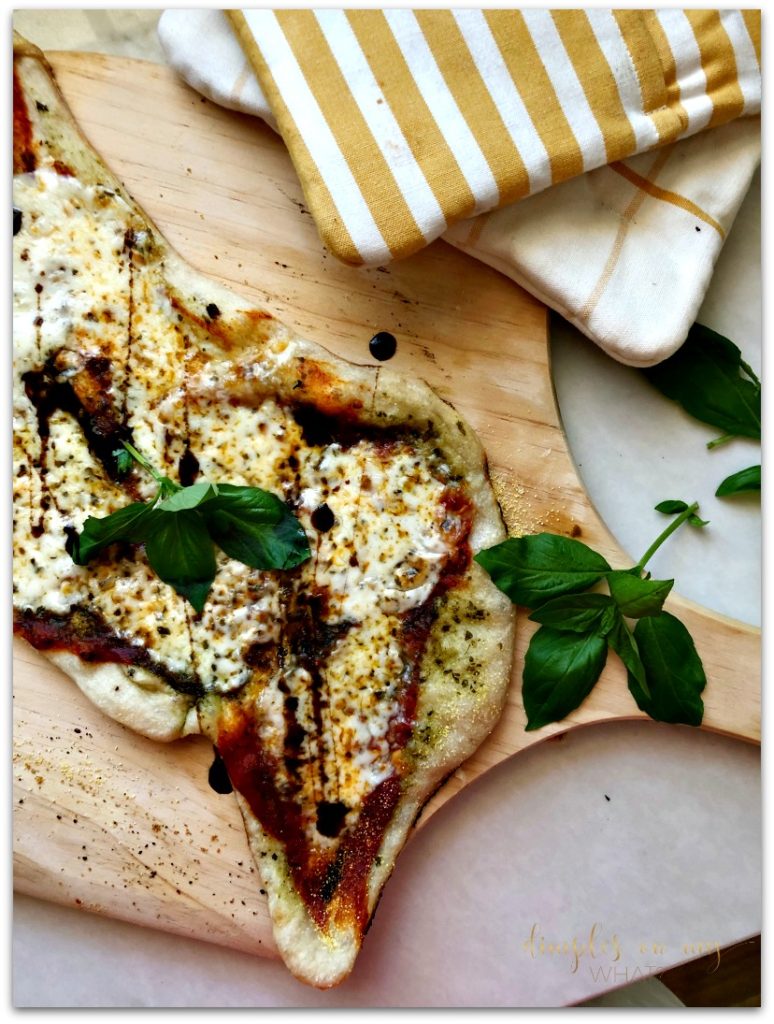
My favorite pizza is a Margherita pizza with fresh buffalo mozzarella (the one in a big round ball) and drizzled with a delicious aged balsamic vinegar.
If you live in the Lake Michigan area, my absolute favorite place to get balsamic vinegar is The Olive Cart. Their tasting rooms are so fun to visit and great for a day date, but you can also place an order.
What’s Your Favorite Pizza Topping? I’m looking for something unique and delicious. 😉
The Recipe
Rustic Italian Pizza Dough
Ingredients
- 5 cups All Purpose or 00 Flour + some for dusting
- 1½ tsp Active dry yeast
- 1½ tsp Sea Salt
- 2 to 2¼ cups COLD water Start with 2 cups then add more if too dry.
- 1 tbsp Extra virgin olive oil
YOUR FAVORITE TOPPINGS
- Fresh Tomatoes
- Marinara
- Fresh or Buffalo Mozzarella slices
- Goat Cheese try this with FIG JAM… it's so GOOD!
- Caramelized Onions
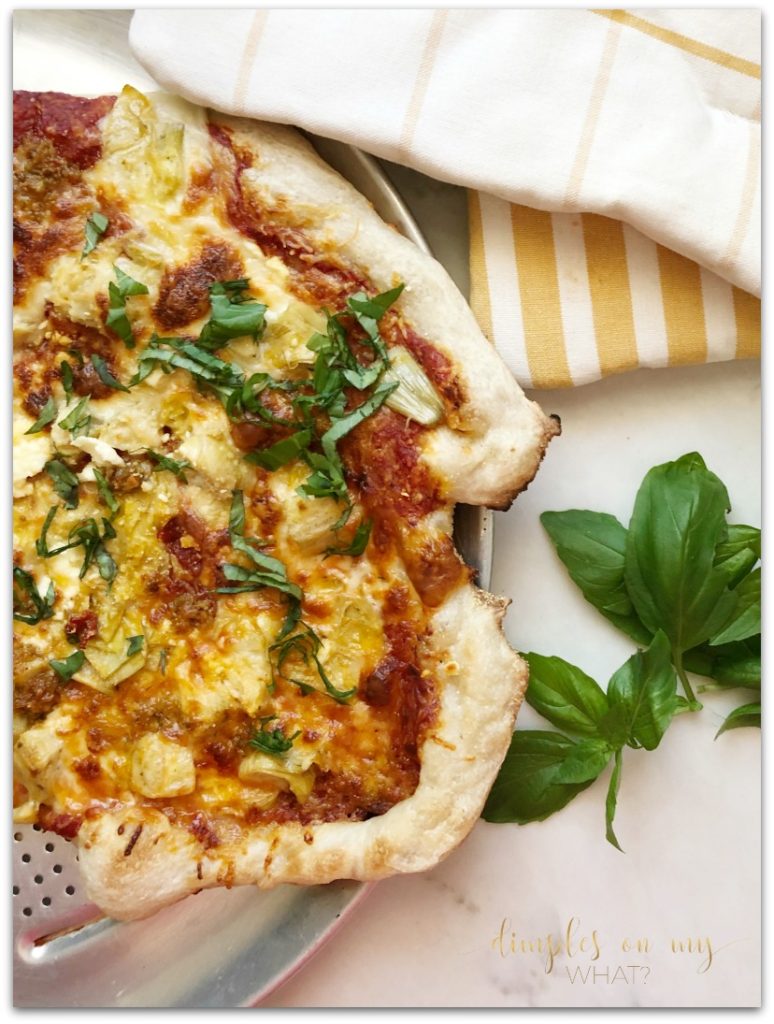
- Artichoke Hearts
- ANYTHING YOU LIKE
Instructions
- In a stand mixture, with the paddle attachment mix the FLOUR, SALT, and ACTIVE DRY YEAST on low until it's all incorporated.
- With the paddle still attached, add two cups of COLD water (*more if the dough looks overly dry – see next step for more on this.) just to until incorporated.
- Switch to the the dough hook attachment and mix on low speed for 8-10 minutes. The dough should be smooth & sticky but should not stick to the sides, only a little to the bottom. This is a good time to add a little more water or flour to get to the correct consistency.
- After 8 minutes, remove the dough from bowl and cut into 6 pieces and form them into rounds, using a dusting of flour IF necessary. If you don't want to freeze your dough, move down to step 6.
- FREEZING THE DOUGH SPECIAL NOTE: If you want to FREEZE THE DOUGH, do it before this next step: Simply form into rounds, place on a plastic tray or parchment paper, loosely cover with plastic wrap and par freeze for an hour or so before wrapping the individual balls in plastic and placing in a freezer bag. TO USE: Remove from freezer bag and thaw on the counter, loosely cover in plastic wrap for a couple of hours. It will be rising/proofing at the same time.When thawed, move onto MAKING YOUR PIZZA.
- Place them on a lightly oiled cookie sheet and drizzle with 1 TBSP olive oil. Cover with plastic wrap and allow to sit at room temperature and rise for about 2 hours in a draft free environment. (Mine seem to spread more than they rise but they still turn out.)
MAKING YOUR PIZZA
- Preheat your oven or grill as high at it will go for at least 45 minutes to one hour before you plan to bake your pizza. I like to put my pizza stone (If using) in there as well.
- Dust counter with a little flour; take one piece of dough and press down with your fingers until you have 1/2" thick circle or oval. Use your fists and knuckles to stretch the dough until its 10" in diameter – careful not to tear it.
- Dust the pizza peel, (or piece of cardboard) very well with semolina flour or corn meal and set your formed dough on it. Test to make sure it slides easily.
TOPPING TIPS
- Use 2-3 TBSP of pizza sauce and spread it out leaving about 1" of space at the edges. (Hot tip: put a little cheese on before you spread your sauce, it's helps everything else stick.)
- Sprinkle with cheese and your favorite toppings. HOWEVER, since this is a thin crust, keep it to only a couple ingredients to KEEP IT SIMPLE.
BACK TO BAKING
- Gently slide the pie (I keep checking to make sure my pizza is sliding around while I'm adding ingredients) onto the preheated pizza stone and bake for 5 to 7 minutes or until golden brown on the edges. You can finish it under the broiler if you prefer more charred edges.
- Remove from the oven being EXTRA CAREFUL not to burn yourself as these are super HOT temperatures, (I will often used a pair of tongs to help slide it onto a cutting board or the pizza peel).
- Sprinkle with any fresh toppings and allow to rest a few minutes before slicing to allow the cheese to set.
- ENOY!
Original recipe by Ciao Florentina


What made you find out about your gene mutation?
Author
Hi Anne! I had my breast implants removed in February of 2018 and the surgeon who explanted them in a very specific way, suggested having the testing. He said that having that knowledge would help me with detoxing. Because if you have certain mutations or combinations of, (and I do), it significantly impairs the body’s ability to detoxify. I also have higher inflammatory markers. I did testing through a lab but you can also get results through 23andMe, but I think you have to plug something from those results into another free website to get the MTHFR results.
My knowledge of the “broken” genes is elementary at best. I only know it has caused me to consider more about what I’m putting I to my body to nourish it, rather than freak out about what I can’t have. 😬
You can read about my decision to explant here:
https://dimplesonmywhat.com/breast-implant-illness/
Your pizza looks delicious I haven’t eaten yet today and my mouth is watering. I had my DNA done through 23 and me so am going to check this mutation out.
Okay so I don’t have strong cooking skills so I may just need to stick to delivery but this looks so delicious.